· Mark · Devlog · 4 min read
Devlog #3: The Unseen Hero - Building Our Dynamic Camera System
This week, Mark gives a deep dive into the robust camera system for KIT. Learn about our blend of Crash style dolly paths, player controlled cameras, 2D sections, and how we make it all feel seamless.
Hey everyone, Mark here for a deep dive into one of my favourite parts of development: the camera! Scott did an amazing job last week showing the art and soul of our hero, Kit. This week, we’re talking about the unseen hero of any 3D platformer the system that lets you see the world we’re building.
The Foundation: A Tale of Two Cameras
From the start, we knew we wanted to capture the best of two different styles of 3D platformer. For our more open, explorable areas, we needed a modern, player controlled third person camera, just like in the Jak and Daxter series.
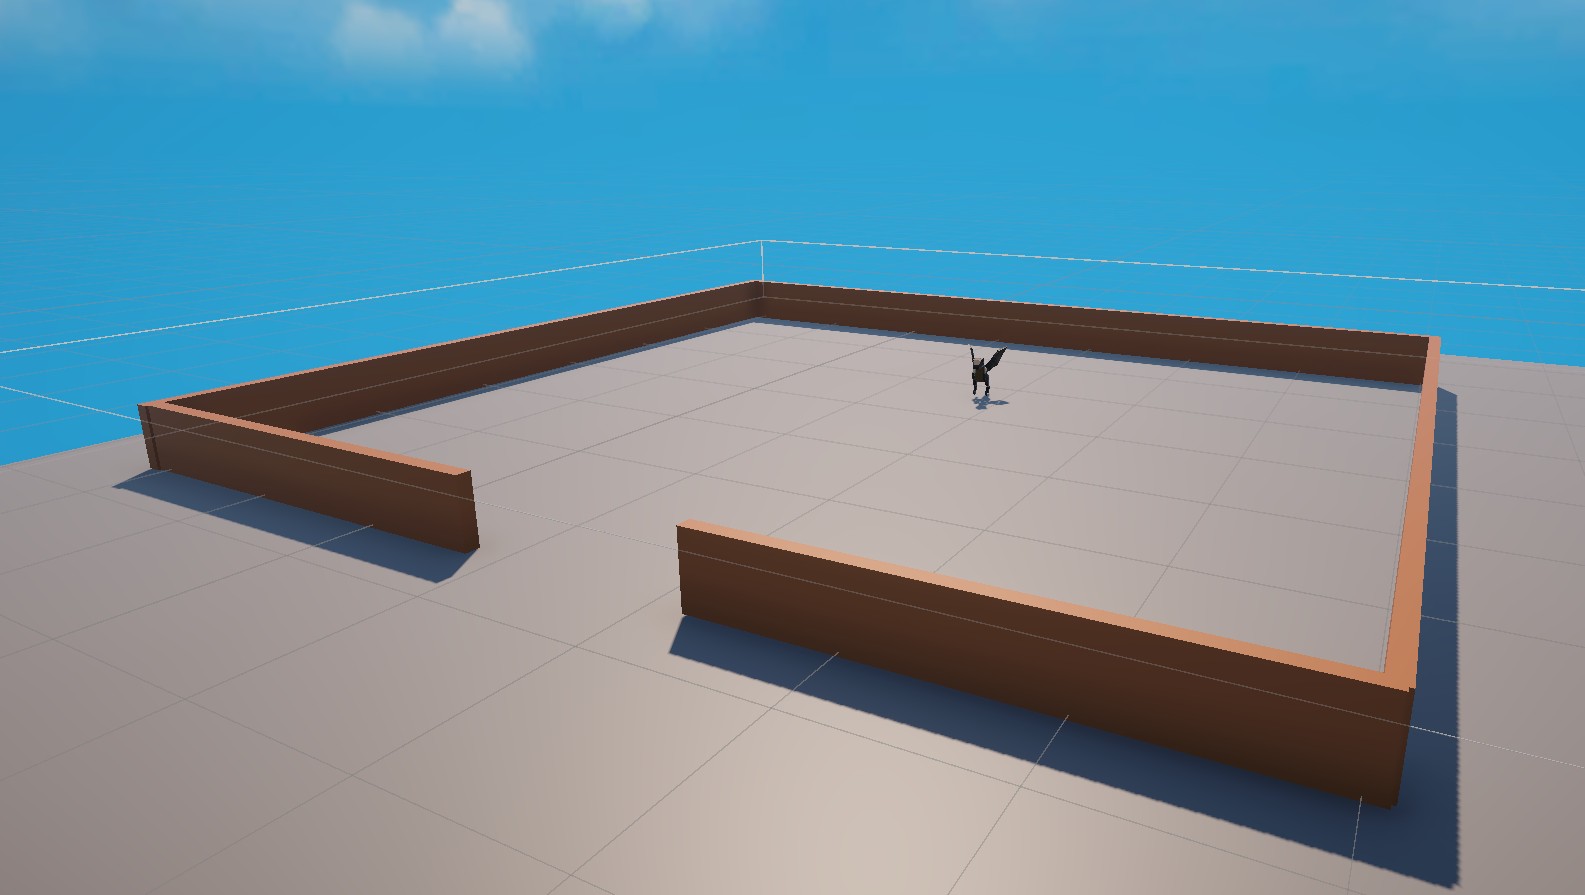
But for our tighter, more linear challenge levels, we wanted that classic, guided, almost cinematic feel of the original Crash Bandicoot games. To achieve this, we built a robust system using Unity’s Cinemachine that lets us place “dolly” cameras on invisible tracks.
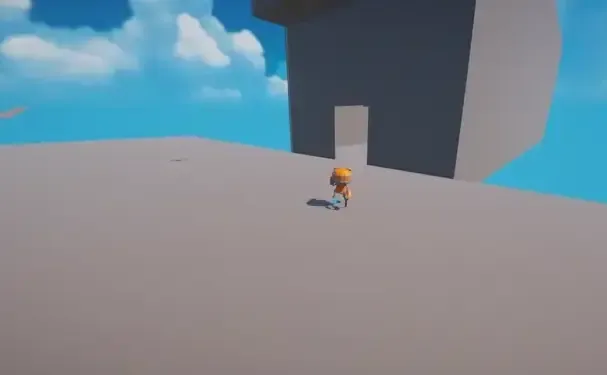
The magic happens with a custom CameraManager script that uses trigger zones in the level to seamlessly switch between all kinds of different cameras by changing their priorities on the fly.
Switching between a Dolly path to a 3rd person camera when entering a new section.
Making the Switch Seamless
A jarring camera cut can ruin the flow of a game. We’ve put a lot of work into making these transitions feel smooth and intuitive. A key part of this is our camera relative controls, which ensures that no matter what angle the camera is at, pushing “forward” on the joystick always moves Kit “forward” on the screen.
We also implemented an input grace period. When a sudden camera switch happens, the game briefly ignores player input for a fraction of a second. This tiny pause prevents you from accidentally running off a cliff or into a wall because the camera angle changed unexpectedly. It’s a small detail that makes a huge difference in game feel.
The Star of the Show: The 2D Switch!
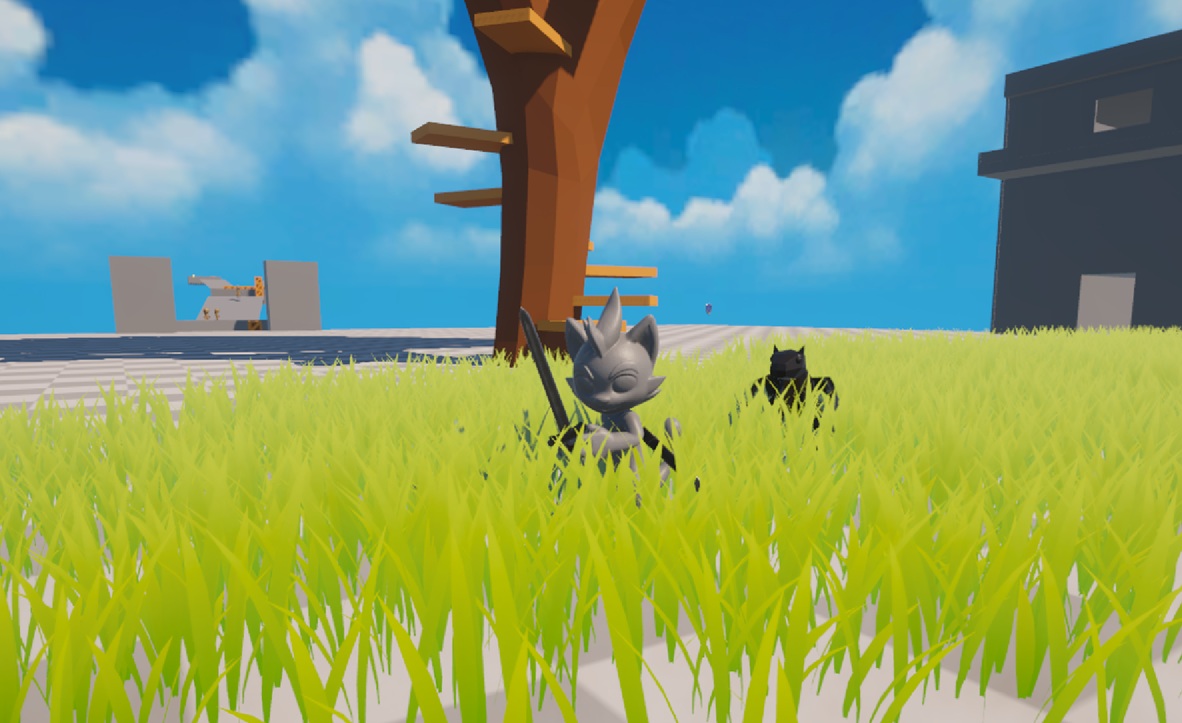
This is the feature I’m most proud of so far. To really mix up the gameplay and pay homage to classic 2D platformers, our system can also switch to a fixed angle, 2.5D side-scrolling perspective!
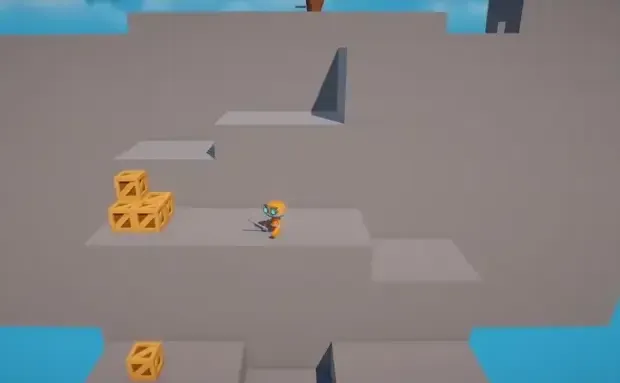
Our triggers can tell the CameraManager to activate a special orthographic camera and lock Kit’s movement to a 2D plane. We plan to use this for unique puzzle rooms, hidden secrets, and special challenge gauntlets. It completely changes the feel of the game and opens up so many new design possibilities.
Our camera system switching seamlessly into a 2.5D perspective!
Cinematic Flair and Puzzle Reveals
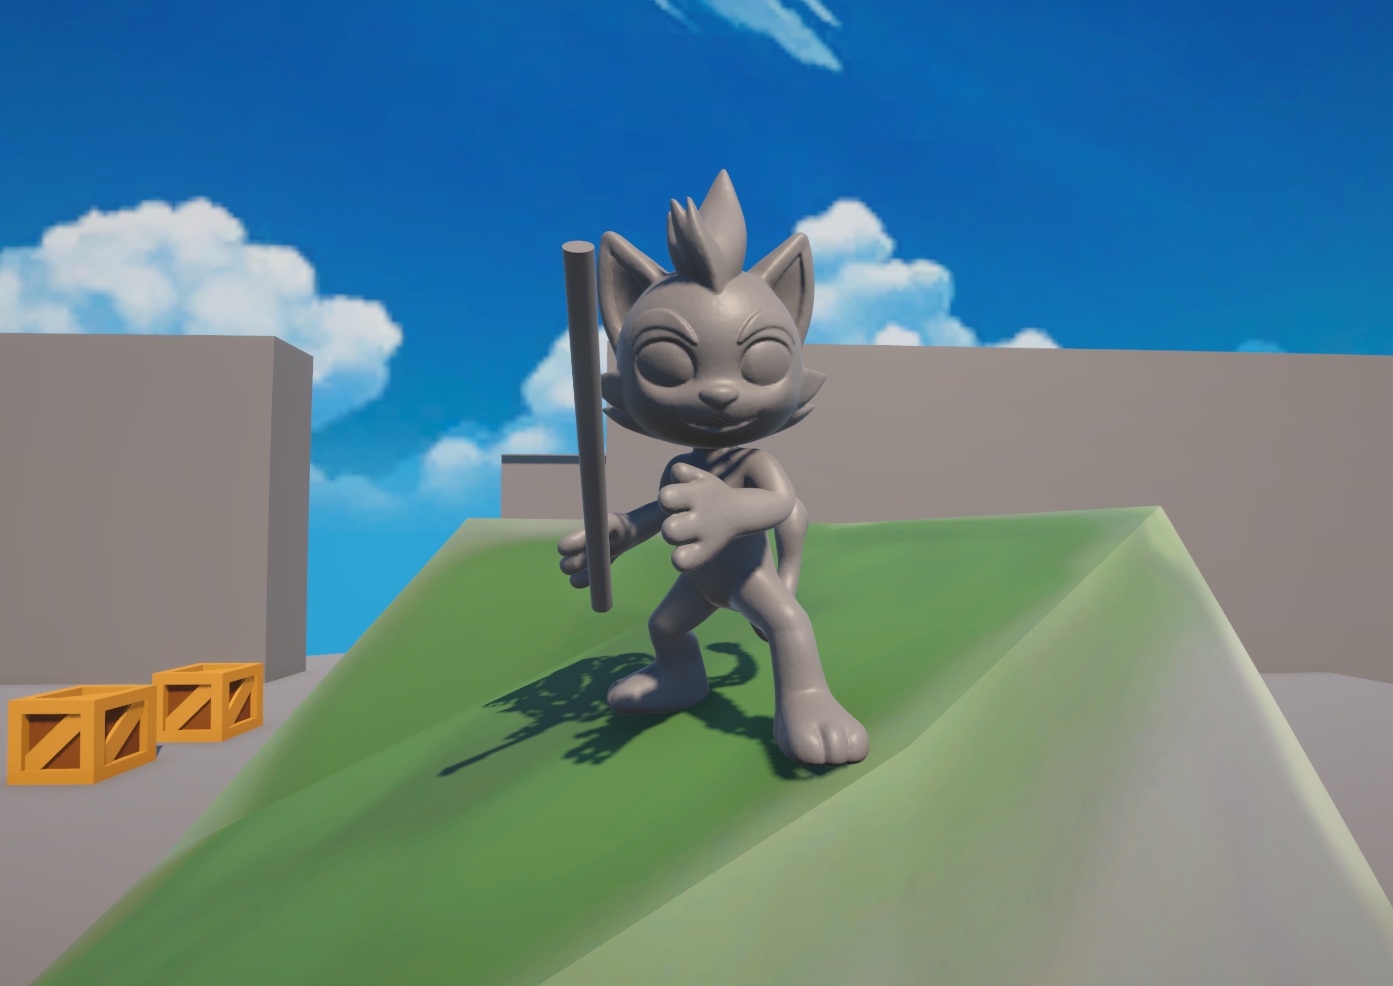
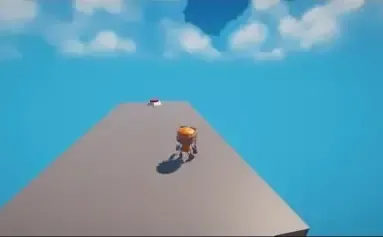
Because our camera switcher is so flexible, we can use it for more than just player perspectives. We can trigger temporary camera switches for cinematic moments, like establishing shots that pan across a new area to show the scale of a level.
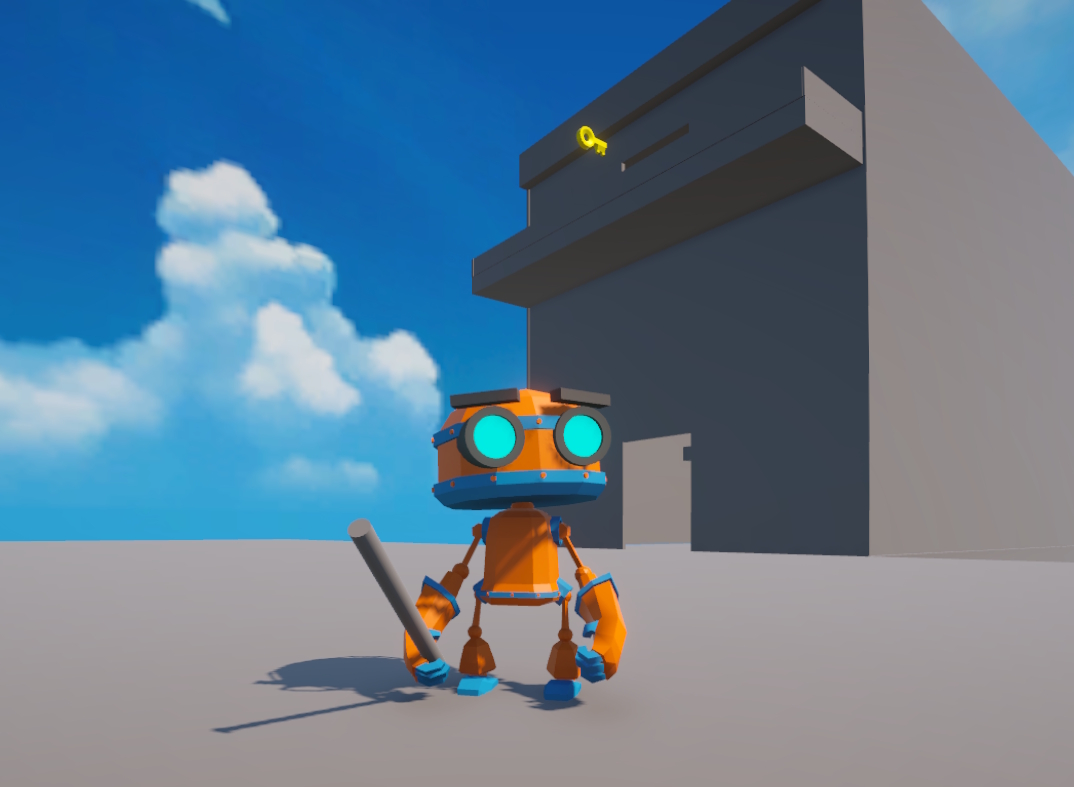
We’ve also tied it into our interaction system. Hitting a switch or talking to an NPC can temporarily switch to a different camera to reveal a newly opened door or highlight a puzzle element across the map. It’s a powerful storytelling tool that makes the world feel more dynamic.
Using the camera system to reveal a falling bridge.
What’s Next?
Building this camera system has been a huge but rewarding challenge. Now that it’s in place, we have a powerful toolset to build exciting and visually interesting levels. Next up, we’ll be using it to block out the first full level for our demo!
Thanks for following our journey. It means the world to us.
- Sign up for our newsletter to get updates sent directly to your inbox.
- Join our Discord server to chat with us, ask questions, and be part of our growing community.
- Follow our Steam Community page to stay up-to-date on development.